Get the game

Assassination

Saintsbook has 36 assassination targets, with four contracts available at a time. The complete table below lists location, trigger, cash and Respect. Complete all 36 for Everything is Permitted. Some contacts unlock their contracts after Return to Steelport, Zombie Attack or Gang Bang.
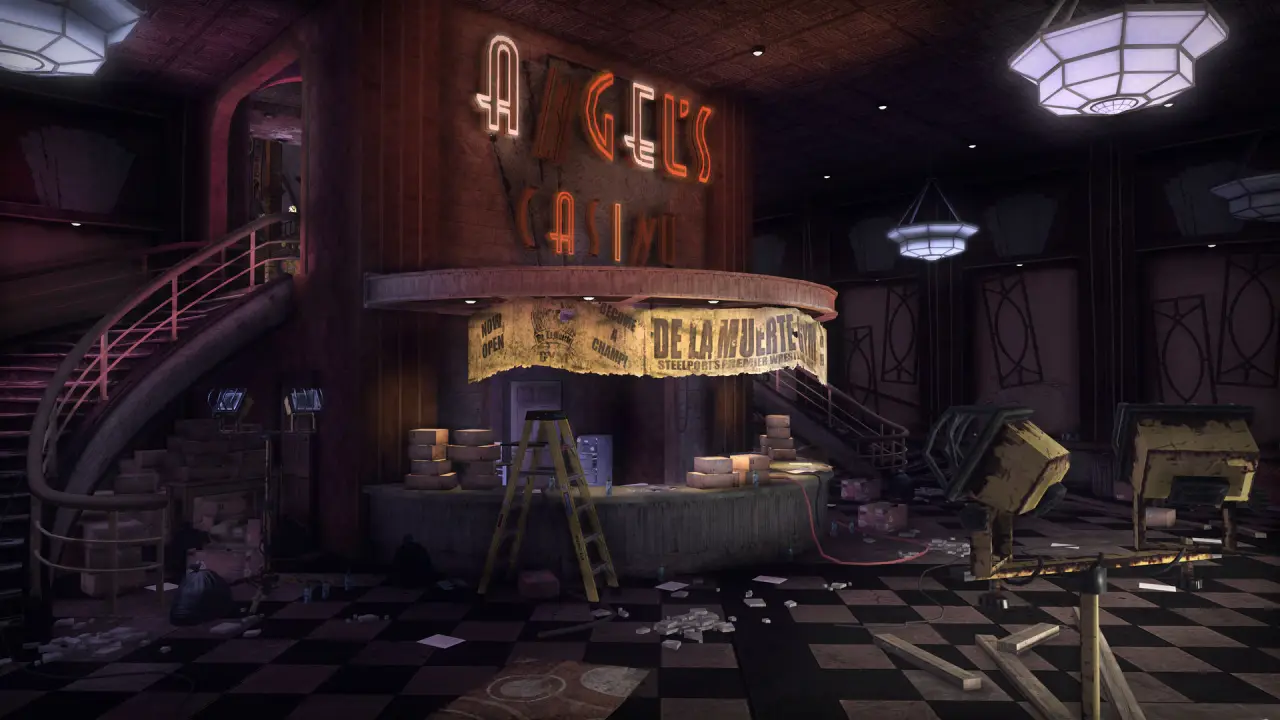
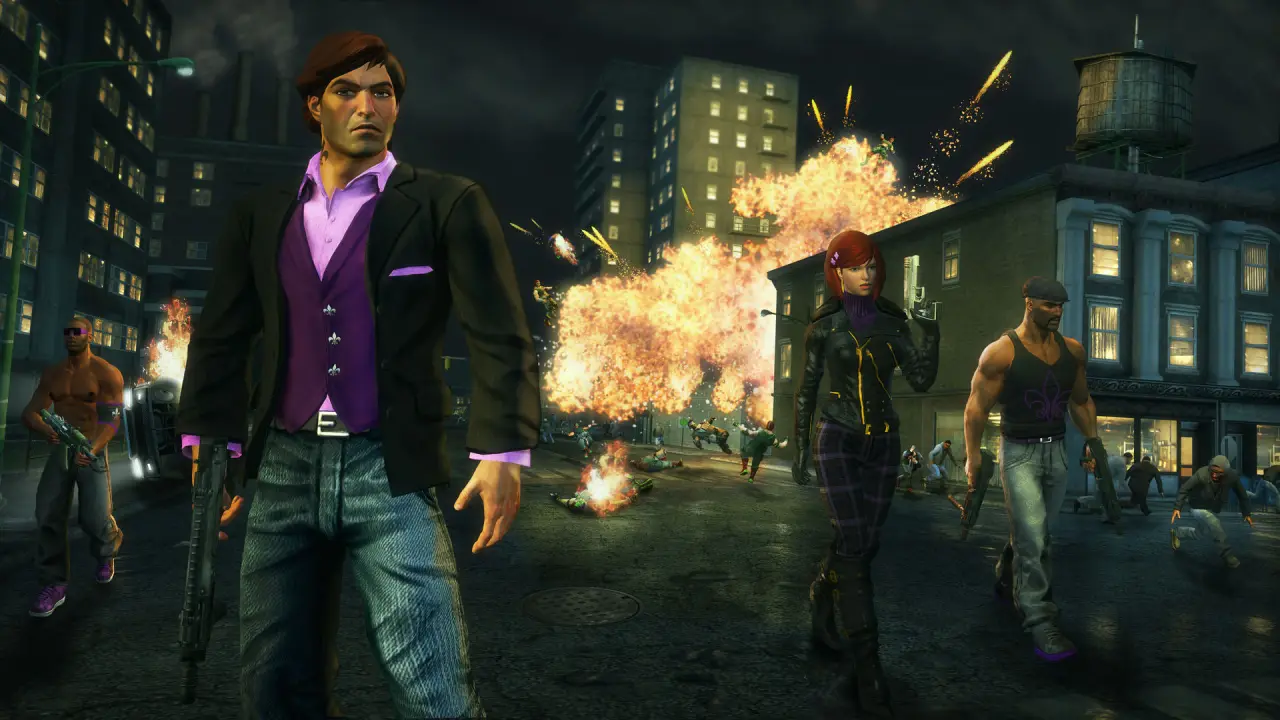
Steam store screenshot from the 2011 Saints Row: The Third page
Second Steam store screenshot from the 2011 Saints Row: The Third page

How a contract starts

Choose an available contract in Saintsbook, travel to its listed neighborhood and meet that target’s trigger. The table separates a wanted-level condition, a vehicle condition, a call, a purchase or an outfit requirement. Location-only entries retain the contact’s location instruction instead of inventing an extra trigger.

Some targets have decoys or attract rival hitmen after appearing. The wiki describes rival hitmen as carrying a 45 Shepherd and having 1,500 health; “45 Shepherd” is a weapon name rather than an alternative health value. Contract availability progresses by level, so finishing one target can unlock a later-level target rather than another at the same level.

Use the right trigger

A district is a larger area than a neighborhood, so follow the location cell before raising notoriety. Police and gang wanted levels are different conditions; raising one does not satisfy a contract naming the other. Vehicle targets can name a family of eligible vehicles, while a radio target needs the stated station. For contacts that use a phone call, place the call from the contract’s requested location. The Brutus entry preserves a source discrepancy between its unarmed approach instruction and its raw trigger label.

NameRecordStatus
Lt. Gorshin
  • level: 1
  • location: New Colvin
  • trigger: Notoriety Police 2, 5secs
  • cash: 700
  • respect: 100
1 source
Evidence
DJ Enigmus
  • level: 1
  • location: Salander
  • trigger: Radio Station K12
  • cash: 500
  • respect: 100
1 source
Evidence
Karl
  • level: 1
  • location: Airport
  • trigger: Vehicle Knoxville
  • cash: 500
  • respect: 125
1 source
Evidence
Almonzo
  • level: 1
  • location: The Grove
  • trigger: Notoriety Luchadores 3, 5secs
  • cash: 500
  • respect: 75
1 source
Evidence
Smoov
  • level: 1
  • location: Henry Steel Mills
  • trigger: Human Shield x1 Hos
  • cash: 2700
  • respect: 250
1 source
Evidence
Michael
  • level: 1
  • location: Ashwood
  • trigger: Vehicle Peacemaker, Peacekeeper
  • cash: 2500
  • respect: 250
1 source
Evidence
Alejandro
  • level: 1
  • location: Sunset Park
  • trigger: Vehicle Compensator, Bulldog, Criminal
  • cash: 2000
  • respect: 250
1 source
Evidence
Luther
  • level: 2
  • location: Loren Square
  • trigger: Compliment x5
  • cash: 600
  • respect: 125
1 source
Evidence
Mike
  • level: 2
  • location: Rosen Oaks
  • trigger: Phone Call Emergency Response, Call the local firefighters to your location, and be ready to finish off your target.
  • cash: 750
  • respect: 150
1 source
Evidence
Chandler
  • level: 2
  • location: Sunset Park
  • trigger: Hit By Car x1
  • cash: 750
  • respect: 150
1 source
Evidence
Officer Dealy
  • level: 2
  • location: Bridgeport
  • trigger: Taunt x5
  • cash: 1000
  • respect: 175
1 source
Evidence
Clovis
  • level: 2
  • location: Camano Place
  • trigger: Purchase Vehicle Modifications
  • cash: 3600
  • respect: 500
1 source
Evidence
Kirsten
  • level: 2
  • location: Salander
  • trigger: Grenade
  • cash: 3500
  • respect: 500
1 source
Evidence
Gerrard
  • level: 2
  • location: New Baranec
  • trigger: Vehicle Hammerhead , Bootlegger , Phoenix , Hammer
  • cash: 4000
  • respect: 500
1 source
Evidence
Tony
  • level: 3
  • location: Camano Place
  • trigger: Purchase_Clothing
  • cash: 750
  • respect: 175
1 source
Evidence
Jake
  • level: 3
  • location: Camano Place
  • trigger: Find him at the named Camano Place location; no extra trigger is listed.
  • cash: 800
  • respect: 200
1 source
Evidence
Agnes
  • level: 3
  • location: Ashwood
  • trigger: Streaking 10 secs
  • cash: 1000
  • respect: 225
1 source
Evidence
Harry
  • level: 3
  • location: Loren Square
  • trigger: Reach the bridge from The Grove to Loren Square before he jumps.
  • cash: 800
  • respect: 200
1 source
Evidence
Andre
  • level: 3
  • location: Espina
  • trigger: Notoriety Morningstar 4, 2secs, and kill Hos
  • cash: 4500
  • respect: 750
1 source
Evidence
Lucas
  • level: 3
  • location: Burns Hill
  • trigger: Wear Decker Suit
  • cash: 4500
  • respect: 750
1 source
Evidence
Whitney
  • level: 3
  • location: Airport
  • trigger: Vehicle Helicopter, Airplane,
  • cash: 5000
  • respect: 750
1 source
Evidence
Brutus
  • level: 4
  • location: Sunset Park
  • trigger: Approach unarmed; the contract and raw trigger label differ, so follow the unarmed instruction.
  • cash: 1500
  • respect: 275
1 source
Evidence
Blaize
  • level: 4
  • location: Carver Island
  • trigger: Holdup Store
  • cash: 1500
  • respect: 225
1 source
Evidence
Pr0Tip
  • level: 4
  • location: Burns Hill
  • trigger: Find him at the Burns Hill location described by the contract.
  • cash: 1250
  • respect: 250
1 source
Evidence
Dr. Wang
  • level: 4
  • location: Loren Square
  • trigger: Purchase Plastic Surgery
  • cash: 1000
  • respect: 250
1 source
Evidence
Bernie
  • level: 5
  • location: Rosen Oaks
  • trigger: Phone Call Newsroom City Desk, Bernie Smith-Jones is sure to meet you if you promise him a hot tip. And no, that's not as dirty as it sounds. Available after Zombie Attack
  • cash: 2000
  • respect: 275
1 source
Evidence
Randall
  • level: 5
  • location: Point Pryor
  • trigger: Attack Npc x3
  • cash: 2000
  • respect: 300
1 source
Evidence
Mr. Dickson
  • level: 5
  • location: Loren Square
  • trigger: Vehicle Status Quo
  • cash: 2000
  • respect: 325
1 source
Evidence
Jim
  • level: 5
  • location: Sunset Park
  • trigger: Phone Call Steelport Cable Dispatcher, Jim the cable guy works for these goons. Call them up to dispatch him to your location. Available after Party Time
  • cash: 1750
  • respect: 300
1 source
Evidence
Mr. Hess
  • level: 6
  • location: Henry Steel Mills
  • trigger: Find him at the Henry Steel Mills location described by the contract.
  • cash: 3000
  • respect: 350
1 source
Evidence
Grigor
  • level: 6
  • location: Camano Place
  • trigger: Find him at the Camano Place location described by the contract.
  • cash: 500
  • respect: 375
1 source
Evidence
Oliver
  • level: 6
  • location: Brickston
  • trigger: Vehicle Helicopter, Airplane, VTOL
  • cash: 2500
  • respect: 350
1 source
Evidence
Danny
  • level: 6
  • location: Yearwood
  • trigger: Phone Call Pizzeria, Call them up to deliver Danny, your assassination target (and a free pizza).
  • cash: 2000
  • respect: 400
1 source
Evidence
Barry (Rasputin)
  • level: 7
  • location: Loren Square
  • trigger: Vehicle Helicopter
  • cash: 3000
  • respect: 450
1 source
Evidence
Sgt. Steiner
  • level: 7
  • location: Abandoned Memorial
  • trigger: Phone Call Stag Ops Center, Beating this Steiner character one-on-one will be a challenge. Call him up and be ready for a fight. Available after Gang Bang
  • cash: 4000
  • respect: 500
1 source
Evidence
Ulysses
  • level: 7
  • location: Salander
  • trigger: Vehicle Helicopter, Airplane, VTOL Available after Gang Bang
  • cash: 2500
  • respect: 325
1 source
Evidence

FAQ

How many targets are there?

36, with four live at a time.

What does finishing them unlock?

The achievement Everything is Permitted.

Sources

CoverageStatusChecked
Source groups cited on this page1 source group2026-10-31